 Our great sponsors
-
- Controller - app/Http/Livewire/MarkdownX.php
- View - resources/views/livewire/markdown-x.blade.php
- Config - config/markdownx.php
-
- Controller - app/Http/Livewire/MarkdownX.php
- View - resources/views/livewire/markdown-x.blade.php
- Config - config/markdownx.php
-
InfluxDB
Power Real-Time Data Analytics at Scale. Get real-time insights from all types of time series data with InfluxDB. Ingest, query, and analyze billions of data points in real-time with unbounded cardinality.
-
- Controller - app/Http/Livewire/MarkdownX.php
- View - resources/views/livewire/markdown-x.blade.php
- Config - config/markdownx.php

MarkdownX is like a element with super powers ✨. It is a text editor with a beautiful interface that makes it easy for users to write in Markdown. The component has a pretty sweet dropdown that allows you to easily upload images, add lists, embed videos, and so much more!
A month ago we posted a tweet about a new editor we were building and it got a pretty huge response with nearly 500 likes and 50 retweets 🤯
That set things in motion and we started working on a version that could be used with any Tallstack application. 🙌.
I'll show you the steps below 👇 on how to install this in a new Tallstack app.
1. 🔧 Create a new Laravel App
The first step is creating a new Laravel application. If you already have an existing Tallstack application, you can skip ahead to step 3.
laravel new mdxEnter fullscreen mode Exit fullscreen modeIn this example, I'll install a new laravel app in a folder named
mdx.Then, go into that directory
cd mdx, and we can move to the next step.2. 🔩 Installing the Tallstack Pre-set
The Tallstack preset allows us to add TailwindCSS, Alpine, and Livewire in our new application with a few simple commands. You can find that preset here: https://github.com/laravel-frontend-presets/tall.
Let's run those commands in our new application:
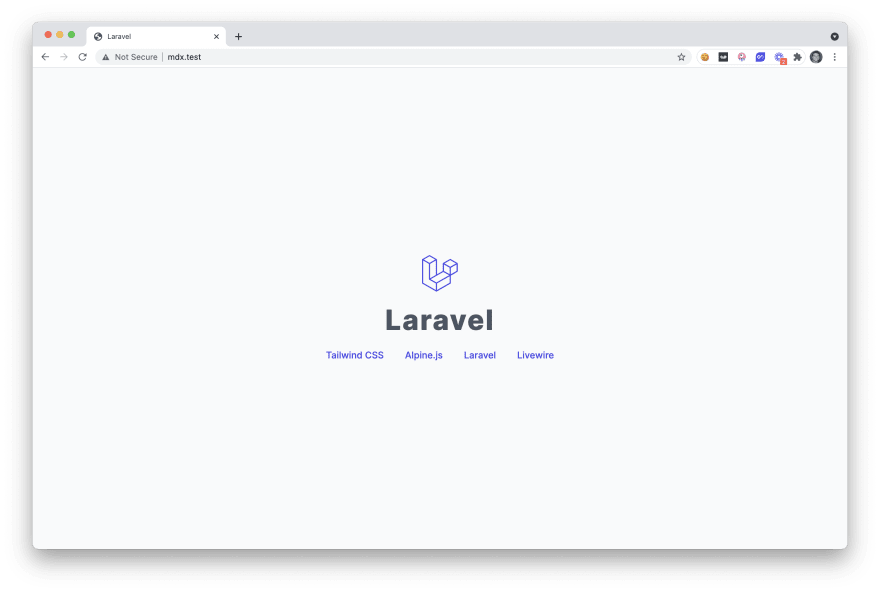
composer require livewire/livewire laravel-frontend-presets/tall
php artisan ui tall
npm install
npm run dev
Enter fullscreen mode Exit fullscreen modeAfter we have run those commands, we should be able to visit our new site:
And we should have a new Tallstack application in front of us.
note: if you get an application key error, you may also need to run
php artisan key:generate.Next up, we'll be moving the component files to our new application.
3. 🧩 Adding the MarkdownX Editor
Adding this component to your project is literally as easy as 1, 2, 3. Because that's how many files the MarkdownX editor includes. Here are those files:
After downloading a copy of the latest MarkdownX editor, you will need to move those files 👆 to their appropriate location in your Laravel application.
Note: make sure to run
php artisan storage:link, if you want to test out image uploading. The MarkdownX storage uses the local public disk by default, but you can change this in the config 😉.After you have done this, we are now ready to test it out in our new application.
🧪 Test out the Editor
To test the editor in our new app we are going to modify the welcome page located at
resources/views/welcome.blade.php, to look like this:
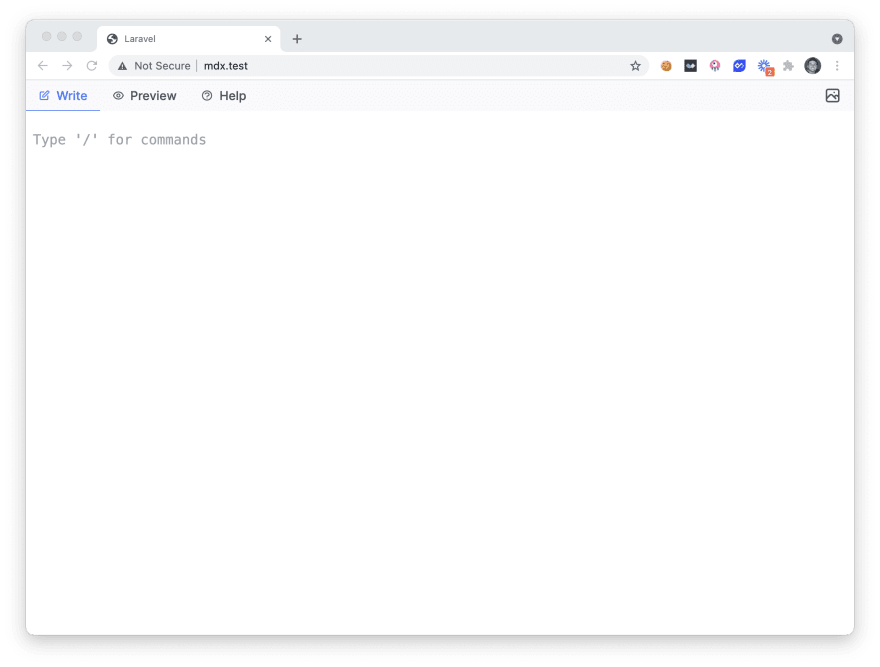
@extends('layouts.app')

@section('content')

@endsection
Enter fullscreen mode Exit fullscreen modeIf we visit our application homepage we'll see the editor in front of us 🤘.
We can now drag-and-drop images, add videos, lists, and a bunch of other cool things that make writing more fun and easier than ever before.
Be sure to check out the official new landing page for MarkdownX here and the documentation here. I hope you find this component useful in your next project, and I hope you continue to build awesome stuff 🤘. See you soon!


MarkdownX is like a element with super powers ✨. It is a text editor with a beautiful interface that makes it easy for users to write in Markdown. The component has a pretty sweet dropdown that allows you to easily upload images, add lists, embed videos, and so much more!
A month ago we posted a tweet about a new editor we were building and it got a pretty huge response with nearly 500 likes and 50 retweets 🤯
That set things in motion and we started working on a version that could be used with any Tallstack application. 🙌.
I'll show you the steps below 👇 on how to install this in a new Tallstack app.
1. 🔧 Create a new Laravel App
The first step is creating a new Laravel application. If you already have an existing Tallstack application, you can skip ahead to step 3.
laravel new mdxEnter fullscreen mode Exit fullscreen modeIn this example, I'll install a new laravel app in a folder named
mdx.Then, go into that directory
cd mdx, and we can move to the next step.2. 🔩 Installing the Tallstack Pre-set
The Tallstack preset allows us to add TailwindCSS, Alpine, and Livewire in our new application with a few simple commands. You can find that preset here: https://github.com/laravel-frontend-presets/tall.
Let's run those commands in our new application:
composer require livewire/livewire laravel-frontend-presets/tall
php artisan ui tall
npm install
npm run dev
Enter fullscreen mode Exit fullscreen modeAfter we have run those commands, we should be able to visit our new site:
And we should have a new Tallstack application in front of us.
note: if you get an application key error, you may also need to run
php artisan key:generate.Next up, we'll be moving the component files to our new application.
3. 🧩 Adding the MarkdownX Editor
Adding this component to your project is literally as easy as 1, 2, 3. Because that's how many files the MarkdownX editor includes. Here are those files:
After downloading a copy of the latest MarkdownX editor, you will need to move those files 👆 to their appropriate location in your Laravel application.
Note: make sure to run
php artisan storage:link, if you want to test out image uploading. The MarkdownX storage uses the local public disk by default, but you can change this in the config 😉.After you have done this, we are now ready to test it out in our new application.
🧪 Test out the Editor
To test the editor in our new app we are going to modify the welcome page located at
resources/views/welcome.blade.php, to look like this:
@extends('layouts.app')

@section('content')

@endsection
Enter fullscreen mode Exit fullscreen modeIf we visit our application homepage we'll see the editor in front of us 🤘.
We can now drag-and-drop images, add videos, lists, and a bunch of other cool things that make writing more fun and easier than ever before.
Be sure to check out the official new landing page for MarkdownX here and the documentation here. I hope you find this component useful in your next project, and I hope you continue to build awesome stuff 🤘. See you soon!
Related posts
- Deveplop a simple GUI app by Wails use Golang
- Create a Responsive Nav Menu with Tailwind and Alpinejs
- Live Video Streaming from Laravel PHP using LiveKit
- I have poured my heart and soul into my web app, but I can't even get people to try it. Not sure how to figure out why.
- Add Alpine.js to your Node Application